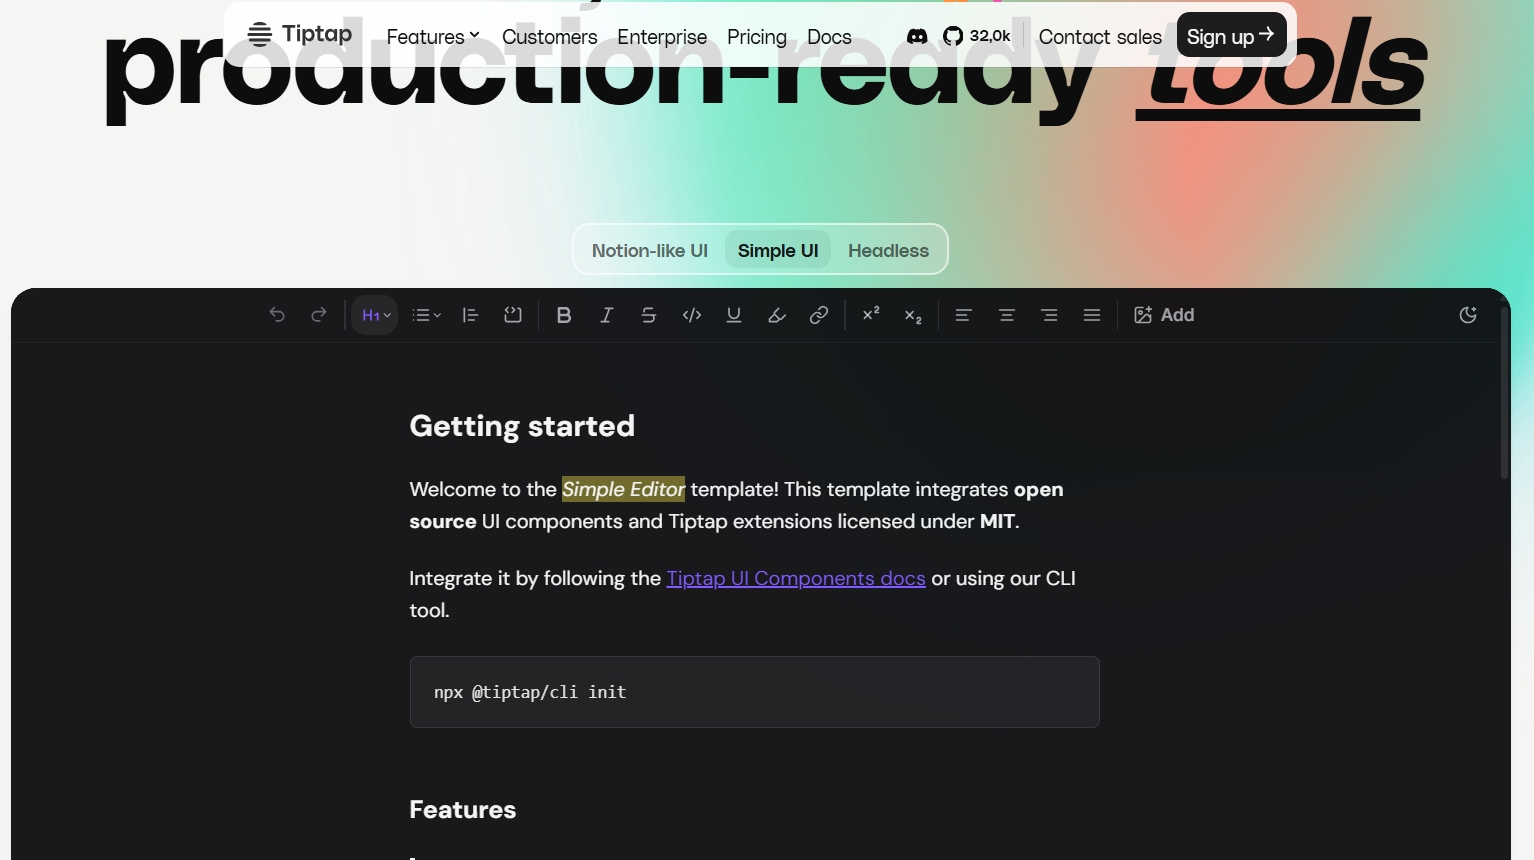
Best Rich Text & Markdown Custom Editor with Tiptap for React/Next.js

Best Rich Text & Markdown Custom Editor with Tiptap for React/Next.js
If you’re building a modern blog platform, knowledge base, or note-taking app, you’ll eventually need a rich text and Markdown editor. While tools like Quill and Draft.js exist, they often fall short when you need flexibility, Markdown support, and production-ready customization. That’s where Tiptap for React and Next.js shines.
In this guide, we’ll build a custom rich text + Markdown editor using Tiptap in React/Next.js. We’ll add a custom toolbar, image upload, Markdown export, and even advanced features like headings, code blocks, and text alignment.
Why Choose Tiptap for a Markdown & Rich Text Editor?
Tiptap is built on top of ProseMirror, a battle-tested editor framework. It supports:
Rich text editing (bold, italic, underline, headings, lists, code).
Markdown extension for exporting/importing Markdown.
Highly customizable toolbars and menus.
Easy integration with React and Next.js.
Extensions for images, tables, and collaboration.
If you want the best custom editor setup in 2025, Tiptap is the clear winner.
Project Setup for Next.js + Tiptap
First, create a new Next.js project:
npx create-next-app@latest my-editor
cd my-editor
npm install @tiptap/react @tiptap/starter-kit @tiptap/extension-markdown @tiptap/extension-link @tiptap/extension-image @tiptap/extension-code-block-lowlight @tiptap/extension-text-align
npm install lucide-react
Initialize the Tiptap Editor
We’ll set up Tiptap with StarterKit, Markdown, and some useful extensions:
"use client"
import { useEditor, EditorContent } from "@tiptap/react"
import StarterKit from "@tiptap/starter-kit"
import Markdown from "@tiptap/extension-markdown"
import Link from "@tiptap/extension-link"
import Image from "@tiptap/extension-image"
import TextAlign from "@tiptap/extension-text-align"
import CodeBlockLowlight from "@tiptap/extension-code-block-lowlight"

export default function Editor() {
  const editor = useEditor({
    extensions: [
      StarterKit,
      Markdown,
      Link.configure({ openOnClick: false }),
      Image,
      TextAlign.configure({ types: ["heading", "paragraph"] }),
      CodeBlockLowlight,
    ],
    content: "## Start writing your **Markdown** here...",
  })

  return (
    <div className="max-w-2xl mx-auto p-4 border rounded-xl shadow">
      <Toolbar editor={editor} />
      <EditorContent editor={editor} className="prose p-4" />
    </div>
  )
}
Building a Custom Toolbar in Tiptap
The toolbar is where we enable rich text + Markdown commands like bold, italic, headings, and alignment.
import { Bold, Italic, Heading1, Heading2,  Code } from "lucide-react"

export function Toolbar({ editor }) {
  if (!editor) return null

  return (
    <div className="flex flex-wrap gap-2 border-b p-2 bg-gray-50">
      <button onClick={() => editor.chain().focus().toggleBold().run()}
        className={editor.isActive("bold") ? "bg-gray-200 p-2 rounded" : "p-2"}>
        <Bold size={18} />
      </button>
      <button onClick={() => editor.chain().focus().toggleHeading({ level: 2 }).run()}
        className={editor.isActive("heading", { level: 2 }) ? "bg-gray-200 p-2 rounded" : "p-2"}>
        <Heading2 size={18} />
      </button>
      <button onClick={() => editor.chain().focus().setTextAlign("left").run()}>
        <AlignLeft size={18} />
      </button>
      <button onClick={() => editor.chain().focus().setTextAlign("center").run()}>
        <AlignCenter size={18} />
      </button>
    </div>
  )
}
Exporting Markdown Content
Tiptap’s Markdown extension makes it easy to save your content:
<button
  onClick={() => {
    const markdown = editor.storage.markdown.getMarkdown()
    console.log("Exported Markdown:", markdown)
  }}
  className="mt-4 px-4 py-2 bg-blue-600 text-white rounded"
>
  Export Markdown
</button>
You can store this Markdown in your database, or re-import it later.
Adding Image Upload Support
Integrating image upload makes your editor feel complete. You can use Cloudinary or UploadThing. Example for Cloudinary:
const uploadImage = async (file) => {
  const formData = new FormData()
  formData.append("file", file)
  formData.append("upload_preset", "your_preset")

  const res = await fetch("https://api.cloudinary.com/v1_1/your_cloud_name/image/upload", {
    method: "POST",
    body: formData,
  })
  const data = await res.json()
  return data.secure_url
}
Then insert it:
editor.chain().focus().setImage({ src: url }).run()
✅ Pros of Using Tiptap for Rich Text & Markdown
Flexible & Modular: Choose only the extensions you need.
Markdown Ready: Export & import Markdown easily.
React/Next.js Friendly: Works with modern frontend stacks.
Production-Ready: Used in apps like Notion-like editors.
Community Driven: Constant updates and active ecosystem.
⚠️ Cons of Tiptap
Learning Curve: Requires understanding ProseMirror concepts.
SSR Issues: Needs
use clientand editor guards in Next.js.Paid Collaboration: Real-time features need the paid plan.
Bundle Size: Can get heavy with many extensions.
❓ FAQ
1. Why use Tiptap instead of Quill or Draft.js?
Tiptap supports Markdown natively, is based on ProseMirror, and offers more flexibility with extensions and custom toolbars.
2. Can I add both Markdown and Rich Text modes?
Yes, you can build a toggle between Markdown source view and rich text editor view.
3. How do I fix SSR issues in Next.js?
Wrap your editor in "use client" and ensure editor is checked before rendering toolbar buttons.
4. Is Tiptap free?
Yes, most features are free. Paid plans are only for collaboration, cloud syncing, and AI helpers.
5. Can I use Tiptap for blogging platforms?
Absolutely. You can export content as Markdown, JSON, or HTML and store it in a database for rendering later.
Considering: To add Beautiful Curve section to your Page
Final Thoughts
Building a custom rich text and Markdown editor with Tiptap in React/Next.js gives you the flexibility of rich text formatting and the power of Markdown export. With a custom toolbar, image uploads, and extensions like headings and code blocks, you can deliver a production-ready editor that rivals what big platforms like Notion and Dev.to use.
If you’re serious about building modern apps in 2025, this setup is the best way to implement a custom editor in React/Next.js.
