📅July 29, 2025
##Step-by-Step Guide to Self-Host and Use n8n for Blog Automation
Requirements
Description
✅ Linux VPS or local server
Ubuntu 20.04+ recommended, 1GB+ RAM, Docker-compatible
✅ Docker & Docker Compose
Used to run n8n containers easily
✅ Domain name (optional)
Recommended for SSL and webhook support
✅ API credentials
For Facebook Graph API & X Developer account
✅ Blog system with RSS/Webhook
WordPress, Ghost, Markdown, or headless CMS (like Strapi or Sanity)
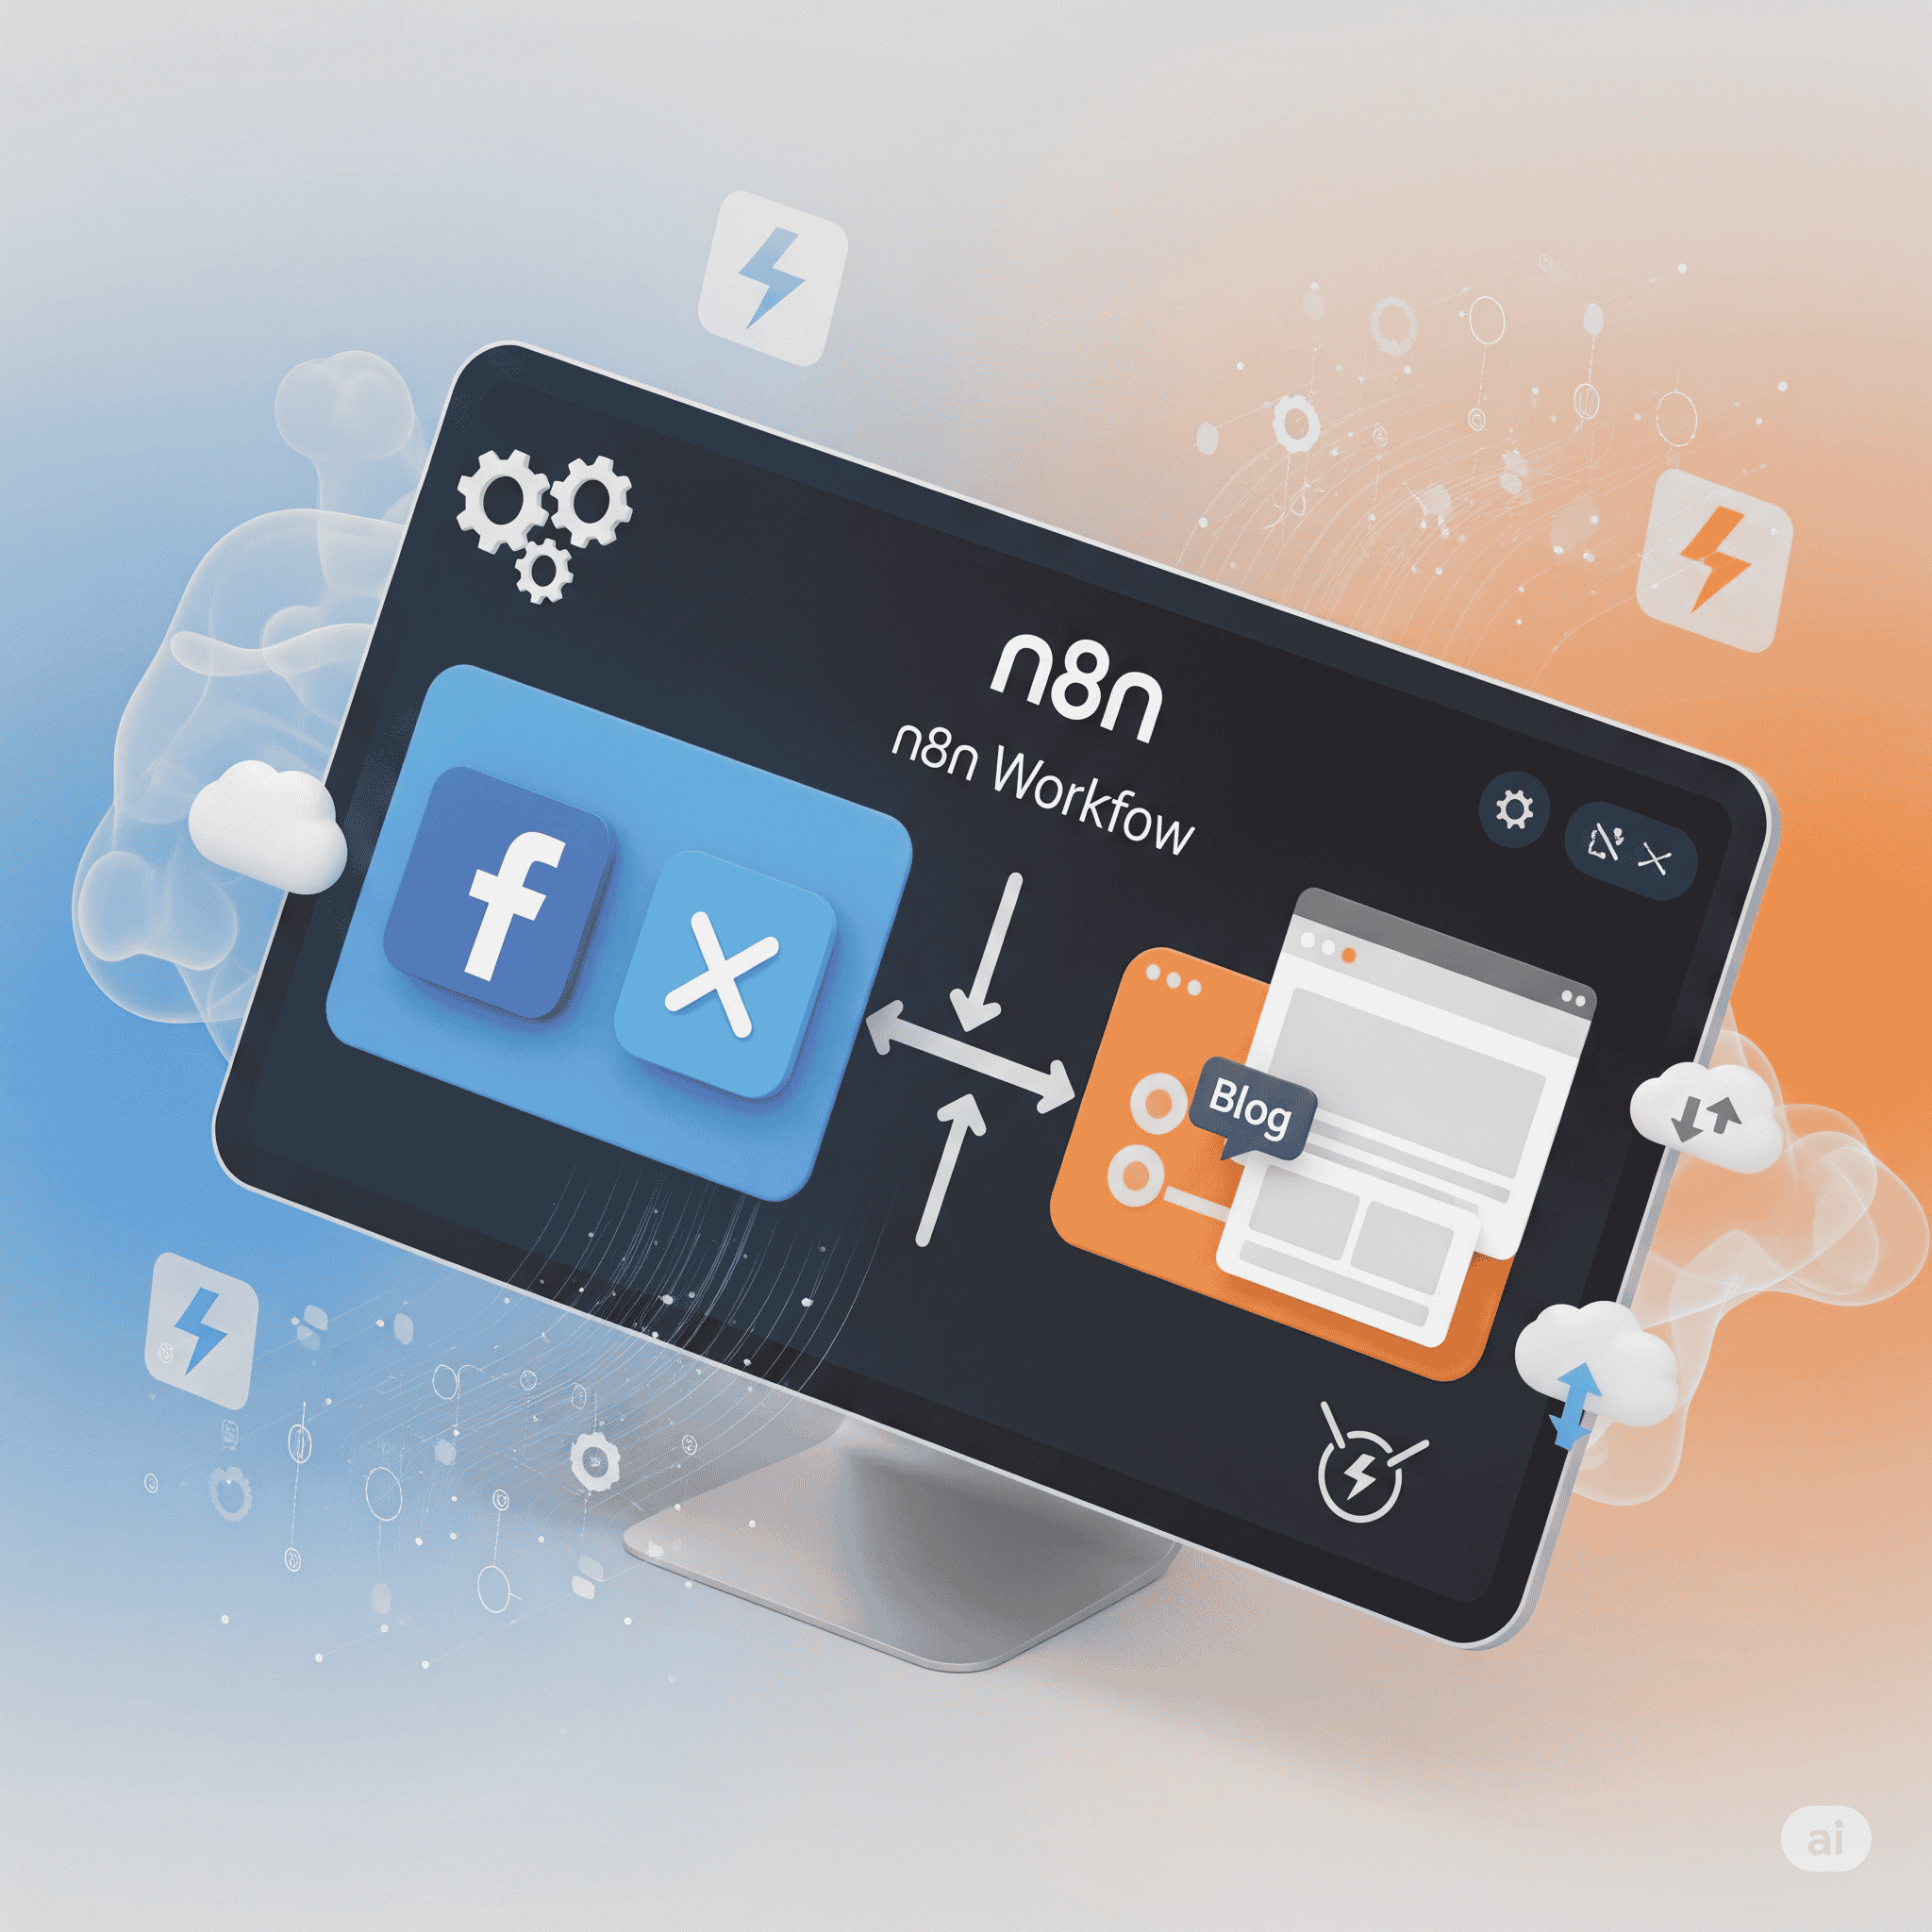
Phase 1: Planning Your Workflow
Goal:
When a new blog post is published, automatically post its title and link to Facebook and X.
Input Sources:
- Webhook or RSS feed from your blog.
Actions:
Post to Facebook Page via Graph API.
Tweet to X via Twitter API v2.
Phase 2: Server Setup (Docker Method)
1. 🔧 Install Docker + Docker Compose
# Ubuntu example
sudo apt update
sudo apt install docker.io docker-compose -y
Verify installation:
docker --version
docker compose version
2. 📁 Setup n8n Folder and Configuration
mkdir ~/n8n-data
cd ~/n8n-data
nano docker-compose.yml
Paste this config:
version: '3.8'

services:
  n8n:
    image: n8nio/n8n
    restart: always
    ports:
      - "5678:5678"
    environment:
      - N8N_HOST=n8n.yourdomain.com
      - N8N_PORT=5678
      - N8N_PROTOCOL=https
      - N8N_ENCRYPTION_KEY=random_secure_key_here
      - GENERIC_TIMEZONE=Asia/Karachi
    volumes:
      - ~/.n8n:/home/node/.n8n
Start n8n:
docker compose up -d
Phase 3: Build the Blog-to-Facebook/X Workflow
1. 🔔 Create a Trigger Node
Use RSS Feed or Webhook node.
- Example (RSS): Provide the RSS URL of your blog (e.g., https://yourblog.com/rss).
2. 🧱 Set Node
Extract title, URL, and content.
Use a
Setnode to shape your message:{ "text": "📢 New blog post: {{$json["title"]}} - {{$json["link"]}}" }
3. 💬 Facebook Node
Use HTTP Request node (as Facebook Page API needs manual integration).
Method: POST
URL:
https://graph.facebook.com/v19.0/{page-id}/feedHeaders:
Content-Type: application/jsonAuth: Use your Facebook Page Access Token
Body:
{
  "message": "{{$node["Set"].json["text"]}}",
  "access_token": "YOUR_FACEBOOK_ACCESS_TOKEN"
}
➡️ Learn more: Facebook Graph API Docs
4. 🐦 X (Twitter) Node
Use HTTP Request again or a custom integration.
Method: POST
URL:
https://api.twitter.com/2/tweetsAuth: Use Bearer Token (create an app on developer.twitter.com)
Body:
{
  "text": "{{$node["Set"].json["text"]}}"
}
Phase 4: Testing and Going Live
✅ Test Manually
Click “Execute Workflow”.
If using Webhook, send a sample blog payload.
Review node outputs for errors or formatting issues.
✅ Set as Active
Toggle the “Active” switch (top right).
Your automation is now live!
📦 Maintenance and Monitoring
Backup your
~/.n8nfolder regularly.Monitor n8n’s Executions panel for failed runs.
Set up error alerts via email or Slack.
Update n8n regularly:
cd ~/n8n-data
docker compose pull
docker compose up -d
Final Thoughts
With n8n, you have complete control over your automation logic. Whether you're running a small blog or a full content platform, n8n helps you automate content publishing and scale without additional team members.
🔗 Useful Links:
🌐 n8n Official Docs
📘 Facebook Page API Docs
🐦 Twitter API Docs