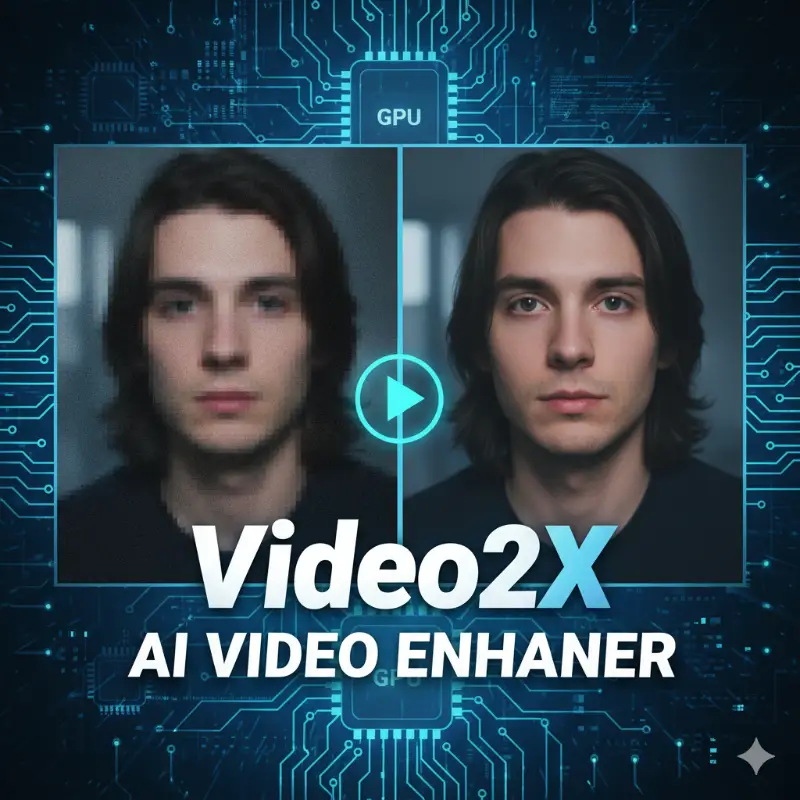
How to Use Video2X AI Video Enhancer for Free on Google Colab

Upscale videos with Video2X AI Video Enhancer — completely free using Google Colab. Just open the notebook, run four cells, and turn your low-quality videos into HD masterpieces.
There was a time when turning an old, blurry video into a crisp HD version required an expensive GPU and paid tools. But now, thanks to Video2X and Google Colab, you can upscale your videos with AI — absolutely free. No installation, no complex setup, no coding. Just open a notebook, hit “Run,” and let the AI do the rest.
If you’ve ever wanted to bring your low-resolution clips back to life, this is the simplest way to do it.
Step 1 — Open the Ready-Made Video2X Colab Notebook Video2x_Colab
We’ve prepared a working Colab notebook with everything set up for you.
Just click this link and open it in your browser:
Open Video2X Colab Notebook
You’ll see four cells inside — each one has a specific job. All you have to do is run them in order from top to bottom.
Step 2 — The First Cell (Environment Setup)
The first cell is where Colab prepares the environment. It automatically installs Python libraries, ffmpeg, and all dependencies that Video2X needs.
You don’t have to type or edit anything — just press Run icon and wait.
Time required: About 1 minute.
This cell ensures that Video2X runs smoothly by setting up the GPU environment and tools.
What happens here:
Installs ffmpeg for video handling.
Loads Python dependencies for the AI model.
Checks your Colab GPU availability.
If you see messages like Setting up... or Done installing, it means you’re good to move on.
You will see result like this:
 ## Step 3 — The Second Cell (Download Models)
This is where Video2X’s AI brain comes to life.
The second cell downloads pre-trained AI models such as Real-ESRGAN, which power the upscaling process.
Time required: Around 5 minutes.
What it does:
Clones the official Video2X repository.
Downloads the trained model weights automatically.
Organizes all files for Colab’s runtime.
You don’t need to configure anything — the models are fetched automatically.
When it says “Download complete” or “Setup finished,” the AI models are ready to enhance your video. (or the run icon stop moving)
Step 4 — The Third Cell (Mount Google Drive)
The third cell connects your Google Drive.
You’ll see a link — click it, allow access, and paste the code back into Colab. That’s it.
🕒 Time required: Around 1–2 minutes.
Why it’s important:
Your input video (the one you want to upscale) is stored in Drive.
The output video (enhanced one) will also be saved there, safely.
This ensures your files don’t get deleted when the Colab session ends.
After mounting, your Drive appears as /content/drive/.
Put your videos in something like /MyDrive/Video2X/input/, and you’re good to go.
After running this cell it will look like this:
 Now you have two options to select video from drive or local but remember the upscaled will always on drive.
Step 5 — The Fourth Cell (AI Video Enhancement)
Here’s where the magic happens — Video2X actually enhances your video using deep learning models.
Time required: Varies depending on the video.
Short video (under 30s): 2–3 minutes.
720p clip: ~10 minutes.
Long 1080p or 4K video: 30–60 minutes or more.
What happens during this step:
Every frame of your video is extracted.
The AI model enhances each frame pixel-by-pixel.
Finally, the video is reconstructed and saved in your Drive.
When it’s done, you’ll find your output in:/MyDrive/Video2X/outputs/
 💡 Don’t close your browser tab while this is running — Colab needs to stay active during processing.
What to Expect from the Result
The upscaled video will look noticeably cleaner, sharper, and more detailed.
You can use Video2X for:
Restoring old clips or animations.
Enhancing YouTube or short videos.
Improving visual clarity for projects and reels.
Even though it’s running on a free Colab GPU, the results are surprisingly close to what paid desktop AI tools offer.
Understanding the Four Images (for this tutorial)
To help you visualize, we’ve added four reference images in the post:
First Cell: Installing dependencies (1 minute setup).
Second Cell: Downloading model weights (AI brain setup). (5 minute setup)
Third Cell: Mounting Google Drive (file connection).
Fourth Cell: Video enhancement in progress (AI working).
Each one represents exactly what you’ll see in your Colab notebook — making it beginner-friendly yet professional.
Pro Tips to Save Time
Use shorter videos for quick results.
Stick with 2× scale instead of 4× for faster runs.
Colab might disconnect after 90 minutes — so for very long videos, process in smaller parts.
If it stops, don’t panic — just rerun the last cell. Your files stay safe in Drive.
Final Thoughts
Running Video2X on Google Colab is the easiest way to get AI-powered video enhancement for free.
No need for high-end hardware — Google’s GPU does all the heavy lifting.
Just open the Colab notebook, run four simple cells, and let the AI transform your low-resolution videos into crisp HD masterpieces.
Try it now: Open the Free Video2X Colab Notebook.
Frequently Asked Questions (FAQs)
1. Is Video2X completely free to use on Google Colab?
Yes! You can use Video2X 100% free on Google Colab. Colab provides a free GPU environment where you can run AI video upscaling without installing anything on your computer.
2. Do I need a powerful PC to run Video2X?
No, you don’t need any special hardware. All the heavy AI processing happens on Google’s cloud GPU through Colab. Even a basic laptop can run it smoothly.
3. How long does it take to upscale a video using Video2X?
Processing time depends on your video length and resolution.
Short clips (under 30 seconds): 2–3 minutes
720p videos: around 10 minutes
1080p+ or 4K videos: 30–60 minutes or more
4. Where can I find the enhanced video after processing?
The enhanced video is automatically saved in your Google Drive, usually under /MyDrive/Video2X/outputs/.
5. Can I upscale any type of video?
Yes. Video2X supports most common formats like MP4, MKV, and AVI. For best results, use MP4 files and keep video length moderate.
6. What model does Video2X use for enhancement?
It typically uses Real-ESRGAN or waifu2x — both AI models trained to upscale frames with incredible detail and sharpness.
7. Can I lose my video if the Colab session disconnects?
No worries — as long as you’ve mounted Google Drive before running the last cell, your results will stay safe there even if Colab disconnects.
8. Is the output better than traditional video editing tools?
Yes, in most cases. Since Video2X uses AI models, it can recover texture and detail that normal upscalers or filters can’t — especially noticeable in anime, old footage, and low-res clips.
9. Can I use this for YouTube or social media videos?
Absolutely. You can enhance your YouTube videos, reels, or shorts before posting for a sharper, professional look.
10. What should I do if Colab shows an error or crashes?
Just rerun the previous cell. Make sure your Drive is still mounted. Sometimes Colab restarts its runtime, but you won’t lose any data saved to Drive.

